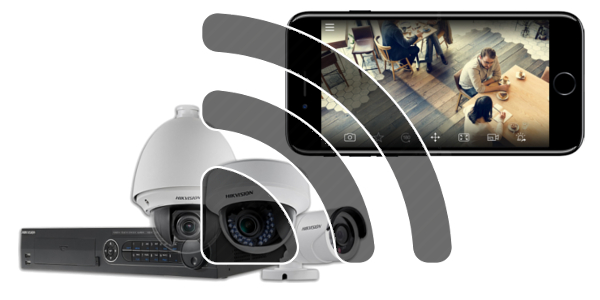
 The IP cameras available today offer the added advantage of remote viewing through your mobile phones. The cameras need to be configured accordingly to allow remote access. First you have to setup the surveillance system by connecting the cameras to the NVR and the NVR to the monitor. Once the live feed starts to display on the monitor, the next step is to setup remote viewing of your camera.
Before you can connect your cameras to your smartphone, there are certain tasks that needs to be finished. They are as follows:
-
The NVR is powered on.
-
The NVR is connected to the router through a network cable.
-
The lights on the back of the network port of the NVR are blinking.
-
Your smartphone is connected via the WiFi to the same network as your cameras.
-
The NVR is assigned to an IP address through which it is connected to the internet.
-
Port forwarding rules are configured in the router to allow internet access to the cameras. With port forwarding rules configured, data can pass through the firewall of the router and reach the camera recorder.
Port forwarding is not needed if the camera feed is viewed through the Local Area Network only. In case of P2P or peer-to-peer network too, port forwarding is not needed. But P2P is slow with low bandwidth. This is why port forwarding is recommended as it gives quick and direct access to the camera feed. By default firewall is configured to block the camera access by the outside world. This is for security reasons and is not a flaw. So proper port forwarding needs to be configured.
If port forwarding rules on your router has been configured and you know your internet connection’s external IP address or DDNS address, you’re ready to configure the remote access through your smartphone.
Install the app IPTecno Pegaso
Download and install the phone application IPTecno Pegaso. You’ll find it in either the App Store for iOS or Google Play store for Android by searching Pegaso Lite.
Step 1: Open the App IPTecno Pegaso
After you’ve installed the app IPTecno Pegaso, locate it on your phone and open it to add a device entry for you security camera NVR.
Step 2: Click the Menu icon
Locate a small square icon with three lines in the top-left corner. This is the Menu icon. Click this icon and proceed to the next step.
Step 3: Select Device Manager
In the Menu screen, select the Device Manager option.
Step 4: Select the Plus Sign
Select the plus sign in the top right corner to add a device.
Step 4: Ensure Your Device is Initialized
A prompt window will appear alerting you to ensure your device has been initialized. If you have followed all the steps till now, then you should have your NVR recorder connected to the network. Simply select OK.
Step 5: Select Wired Device
A new screen will appear asking for the type of device you want to add. Even if you are using this guide to connect one of our wireless security cameras, Select Wired Device and proceed to the next step.
Step 6: Select IP/Domain
Select the IP/Domain option to enter an IP address or Domain Name entry.
Step 7: Create a Local Network Entry (DVR Home) Using the Default TCP Port
For this step to work, it is important that your phone is connected to your network using WiFi so that you are connected to the same network as the camera system. Fill out the appropriate DVR or NVR credentials that are specific to you. Name the device entry “dvr home,” as we will be accessing it when connected to the local network at home via WiFi. The DVR’s IP address is 192.168.1.108. The default TCP is 37777, and this can remain in place as long as you have not changed your default TCP port. Next, type in the DVR’s username and password, and select Start Live Preview to view your system.
Step 8: Create an External Network Entry (DVR Away) Using the Default TCP Port
When away from your local Wi-Fi network, you need to use your external IP address to view your security camera system remotely. This requires creating a second device entry, repeating steps 1 through 6, and filling out the appropriate device credentials but now using the external IP address of the internet connection where the camera system is located. In this case, we’re using the external IP address of 141.182.16.80. Select Start Live Preview to view your system remotely.
If you kept the default TCP port number (37777) in place, then you are done configuring the device entries in the app. If you are using a custom TCP, continue to steps 9 and 10.
Step 9: Create a Local Network Entry (DVR Home) Using a Custom TCP Port
If you changed the TCP port number in your NVR, then you need to update the port number displayed in the IP/Domain screen in the app as it will default to 37777. In this case, we changed our TCP port to 45777 in our DVR and then updated the app’s IP/Domain screen to display Port: 45777 when creating this entry. Next, click Start Live Preview to view your system.
Step 10: Create an External Network Entry (DVR Away) Using a Custom TCP Port
For viewing your system remotely with custom ports you first need to fill out the appropriate device credentials using your external IP address. Next, you need to update the default port (as you did in Step 9) to display the custom port number you’re using. In this case, the custom TCP port is 45777, indicated below. Lastly, select Start Live Preview to view your system remotely.
In addition to view CCTV camera feed in smartphone there are so many mobile access controls your phone can be exploited for.