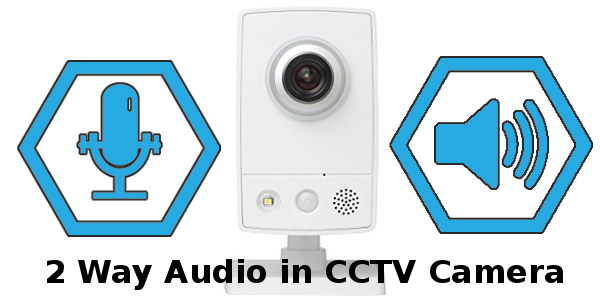
There are cameras that offer this two-way audio communication feature as well as one-way communication feature. Setup of two way communication is easy. In this guide we will see how to configure two-way communication feature of your security cameras in your laptop or smartphone.
Two-way audio setup using PoE NVR
Step 1: Connect cameras to NVR
The cameras we will consider here are IP cameras with inbuilt speaker and microphone. This will enable a user to not only talk into but also listen to what the person at the other end is saying. These cameras are quite easy to install and configure using the Plug-and-play feature that comes with the PoE (Power over Ethernet) NVR(Network Video Recorder). All you need to do to connect the camera to the NVR is to plug in the cables. The Plug-and-Play technology handles the IP address configuration without anyone’s intervention.
Two-way audio through web browser
To communicate via your security camera through your PC you need a Windows PC with Internet Explorer. IE is the web browser through which two-way audio can be implemented. You are going to need a headset with microphone or a combination of speaker and microphone in your PC.
The first thing that you need to do is connect your security camera system to your home or office network. The IP address of the NVR must suit the subnet of your network. If that is done, only then can you see your CCTV camera feed in your computer or smartphone. If you need to view the the camera footage in your device outside the local network, i.e. through internet, you need to set up port forwarding rules additionally to allow the cameras internet access, bypassing the firewall. By default the firewall would block internet access, so you need to setup port forwarding rules.
Step 2: How to use Internet Explorer for two-way audio
1. Open an Internet Explorer and type in the NVR’s IP address for local viewing or external address for remote viewing.
2. Login to your system by typing the username and password.
3. Check if audio is enabled in your camera by navigating to setup and encode.
4. Check the Audio Enable check boxes for both the Main and Sub Streams
5. Select the channel by clicking the quadrant containing the video feed. A green frame will appear around the video feed to distinguish the selected channel.
6. Select the Speaker Icon in the top-right corner of the selected camera’s video feed for one-way audio. This will allow you to hear audio that’s taking place at the location of your camera.
7. To talk back and send out audio through the camera’s speaker, select the Microphone Icon in the top-right corner of the selected camera’s video feed. Your setup is complete.
